Showing posts with label Frosting. Show all posts

Wednesday, June 30, 2010

More pops...


I realize this is a bit early in my blogging career to be repeating recipes, but screw it. Here's some more cake pops.

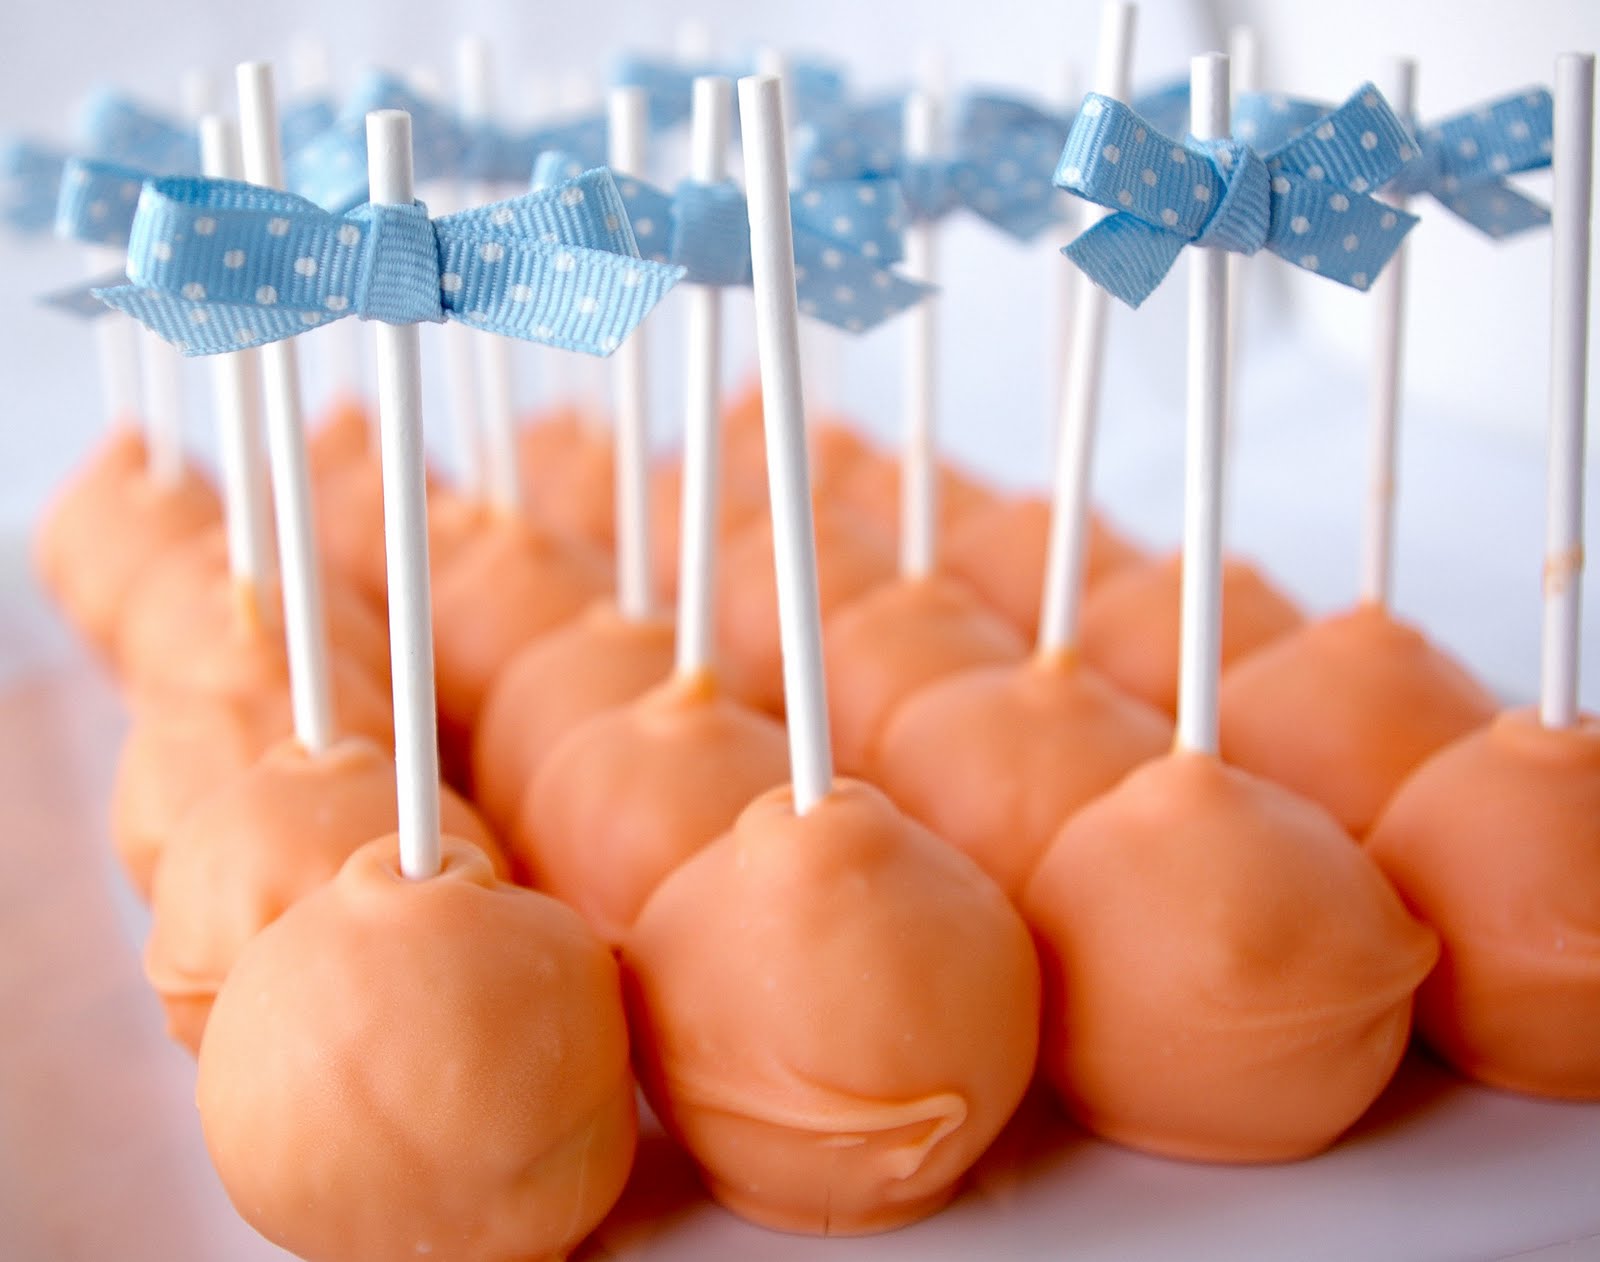
I couldn't resist. They are just too freaking cute. Seriously look at how cute they are! I am so humble.

I attended my boyfriend's cousin's bridal shower this past weekend and was asked to do the desserts. After some of the ladies saw my last cake pop post, they requested that I make them for the shower, of course I obliged. The wedding colors this time let me experiment with some new flavors and food colorings, plus I decided this time, I would go completely from scratch. I was regretting this decision a little when 4:30 am rolled around the night before the shower, and I was still sitting at my center island tying little tiny bows on the sticks, but was quickly reassured that they tasted WAY better than the boxed cake versions. Whew, all worth it. Thank god.

The colors if you haven't guessed by now were orange and blue, and I did my best to match the bride's invitations with the candy melt coating and the bows.

I made some with standard yellow cake, with an added buttermilk tang, which were then mixed with vanilla buttercream and dipped in orange candy melts. The second batch consisted of blue velvet cake, mixed with cream cheese frosting, and dipped in white candy melts. If i didn't have an severe dislike of any and all blue-colored foods, I would have eaten a whole lot of these guys. My waistline thanks me for this unfounded and completely irrational food aversion.

These turned out VERY blue, even though I used way less food coloring than called for. I need to work on my food coloring skills, well that among may other baking-related skills.

If I have learned anything though, it is that people love these bad boys, and I can imagine I will be making these over and over again, with endless possibilities of fillings and toppings, flavors and colors. I can barely stop thinking about the cake pops in my future, though that may be the fault of the sugar bomb I just consumed. Yep, I have leftovers. Thank god for leftovers.
Cake Pops

The majority of this round of pops (with the exception of the yellow cake, recipe below) is mish-mashed from previous posts on cake pops and cupcakes. I used my red velvet cake recipe and just substituted blue food coloring for the blue velvet pops. You can find the recipes and pop directions here:

Blue (Red) Velvet Cake and Cream Cheese Frosting Recipes
Buttercream Frosting Recipe and General Assembly Directions

Yellow Buttermilk Cake
adapted from Culinary Institute of America

3 1/2 cups cake flour
2 cups granulated sugar
1 tablespoon baking powder
1/2 teaspoon salt
1 cup unsalted butter (2 sticks) room temperature
1 cup buttermilk, room temperature
4 large eggs, room temperature
2 large egg whites, room temperature
2 teaspoons vanilla extract

Preheat oven to 350 degrees F. Lightly butter and flour two 8 or 9-inch round cake pans.

In the bowl of your stand mixer, sift or whisk together the cake flour, sugar, baking powder, and salt. Add the butter and half the buttermilk. Beat with the paddle attachment on a medium-low speed until combined and smooth, about 3-4 minutes.

In a medium sized bowl, with a fork, whisk together the eggs, egg whites, the rest of the buttermilk, and the vanilla to combine, just until eggs are broken up. Add the egg mixture to the batter in 3 additions, mixing on medium speed for 2 minutes after each addition, being sure to scrap down the sides of the bowl frequently.

Divide the batter evenly between the two pans, and bake on the middle rack of the oven for 35-40 minutes or until a toothpick or skewer inserted into the center comes out clean. Let cool in pans until they are cool to the touch, then turn out of pans and cool completely on wire racks.

As always, make sure the cakes are completely cool before you attempt the cake pops, otherwise your frosting will melt and you may some some trouble rolling intact balls.


Like I said the possibilities are endless when it comes to cake pops, if anyone has any interesting combinations or new fun flavors, I would love for you to share them in the comments! After all, cake pops are for sharing. Happy cake pop making, and hope you all have a wonderful 4th of July weekend!

Wednesday, May 26, 2010

Tarts and Cakes and Bundts Oh My!


Whew, I can finally breath. and sit. It has been a particularly busy past few weeks, with not a single moment to write a post...or sleep for that matter. I can't complain too much though, I got to spend every waking minute (when I wasn't at one of my two jobs) in the kitchen.

After the success of the tarts I made for my good friend's bridal shower, she apparently had enough confidence in me and my newly acquired baking skills to ask me to provide the dessert table for her wedding reception. I quickly said yes, and then realized what a monumental task this was going to be. It all came together after about two and a half weeks baking and filling the fridge and the freezer full of tart shells, mini bundt cakes, pistachio brittle, and cake pops. It was an amazing learning experience, the bride and groom were extremely appreciative, and all the drunken wedding guests enjoyed the abundance of baked goods when 10:00 rolled around at the reception.

The day after the wedding was spent catching up on sleep, nursing a slight hangover, and actually eating food other than cake and sugar for the first time in about a week. When Monday hit, I was right back at it, baking a three-layer red velvet cake and a dozen cupcakes for my boss's baby shower. I guess almost 700 mini desserts wasn't enough, I just had to get back in the kitchen.

I am going to have to slowly chisel away at all these pictures and recipes that I have accumulated over the past few weeks. I have decided to start at the end of my baking extravaganza and work my way back. The photographer at the wedding was nice enough to stick around and take some pics of the dessert table, so I will wait until I get my hands on some copies to present the table in its entirety here.

But first, the red velvet cake. I was always under the impression that a red velvet cake wasn't really anything special, just a whole lot of red food coloring. Turns out, some buttermilk, cocoa powder, baking soda, and a teensy bit of vinegar can really take an ordinary cake to a new level. This was some of the fluffiest, moist, flavorful cake I have ever had. Topped off with some cream cheese frosting and a big bunch of hydrangeas for decoration (stolen with permission from the wedding), this cake was a big hit at the shower. I had some leftover batter so I threw in a dozen cupcakes for good measure.

Red Velvet Cake with Cream Cheese Frosting

Each batch makes 2 thick 9-inch layers, or 3-thinner 9-inch layers, or 1 thick 9-inch layer and 12 cupcakes. I made 2 batches, and ended up with a fairly tall 3 layer cake, with 12 cupcakes on the side.

For the cake:

2 1/2 cups cake flour
1 teaspoon baking powder
1 teaspoon salt
2 tablespoons unsweetened cocoa powder
2 - 1 ounce bottles of red food coloring
1 cup unsalted butter (the recipe called for 1/2 cup, but in my sleep deprived delirium I used double that, but it was freaking delicious so I wouldn't change a thing if I make this again)
1 1/2 cups sugar
2 eggs, room temperature
1 teaspoon vanilla extract
1 cup buttermilk, room temperature
1 teaspoon baking soda
1 teaspoon white vinegar

Butter and flour your cake pans and set aside. Preheat your oven to 350 degrees F.

In a large bowl sift the flour, baking powder, and salt. In a small bowl, mix the food coloring and cocoa powder until completely incorporated. Set aside.

In a stand mixer (or using a hand mixer) cream the butter and sugar on medium high speed until light and fluffy. Add the eggs one at a time, and beat until thoroughly combined, being sure to scrape down the sides. Add the vanilla and the red food coloring-cocoa mixture and beat well to combine. Add 1/3 of the flour mixture, beat on medium speed until combined, then add 1/2 of the buttermilk, and beat until incorporated. Add another 1/3 of the flour, beat well, then the other half of the buttermilk, scraping down the sides after each addition. Finish with the last 1/3 of the flour mixture and beat until just combined.

In a small bowl, mix the vinegar and baking soda, and immediately add to batter. Mix on high speed for just a few seconds until evenly dispersed, and pour right away into cake pans or lined cupcake pans.

Bake 2 9-inch cakes for about 40 minutes, (less time if you are going with thinner layers, and about 20-25 minutes for the cupcakes) or until a toothpick inserted into the middle comes out clean. Let cool completely before frosting.

For the Frosting:

I made a double batch of this frosting and had enough to generously frost a three layer cake and pipe a good amount onto 12 cupcakes, with some leftover.

16 ounces cream cheese, softened
1/2 cup unsalted butter, room temperature
1 teaspoon vanilla extract
2 1/2 cups confectioners sugar
pinch of salt

In a stand mixer, combine the cream cheese and butter, and beat on medium high speed until smooth. Add the vanilla and salt and mix until incorporated. Gradually add the sugar, and beat until light and fluffy, about 3-4 minutes.

Frost the cake however you fancy, or spread/pipe onto cupcakes. Someday when I get really good at frosting cakes, I will put a step by step tutorial on here. Someday...

I will say though, that I think the best part of making a multi-layer cake, is having to cut the domed tops off each layer so that they lay flat. You then have an excuse to eat cake scraps all afternoon. We wouldn't want them to go to waste now would we?

Pin It

LinkWithin

Related Posts with Thumbnails